You are here because you have seen the light, literally. You understand the infinite power of the sun, and you are looking to see how it can replace the conventional light and electricity source. Well, you are in good company as many other people are looking for a cheap, efficient, planet-friendly solution to power their appliances at home. In some cases, it even offers enough mobility to be used outdoors when camping. The unequivocal answer to this problem has been the adoption of solar generators.
Although expensive, it is a one-time investment that makes up for its expense in the long run. Visit Simple Solar Living if you have reservations or proceed to see how a DIY solar generator can be a blessing in disguise.

Why you need your solar generator and DIY might be the way best to get one
A solar generator is one device that many years back would have been regarded as science fiction. Try explaining to your son that the TV in your living room is powered by the sun many miles away and see the awe in his face. Solar generators have been around long enough to prove their worth, and their advantages over fossil fuel engines and generators have proven that they are miles ahead and so far the better pick. These advantages include but are not limited to the following.
- They do not propagate noise pollution
- They don’t produce dangerous fumes
The major drawback when considering solar generators is the expense it takes to set up, and the workaround is to create your solar generator. It might sound like work, but DIY generators are straightforward and offer just the power output you need while allowing you to build within your budget.
Building your solar generator
The following are easy to follow steps on your journey to building your solar generator. You can experiment with other materials as long as you do not endanger yourself or your family. You can also check other ideas for design inspiration.
Getting the parts
These are the components you need to make your DIY solar powered generator. They are:
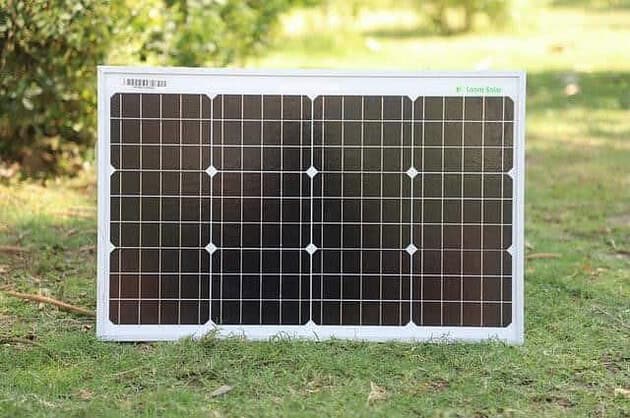
- Portable solar panels
- Solar charge controller
- Battery
- AC/DC inverter
- Durable case
- Breakers and electrical wiring
Assembling the parts
The next step is taking and making these components into a solar generator. But first, you must ensure you have these tools.
- Silicon sealant
- Driller with a hole saw
- Wirecutter
- Glue gun
- Screwdriver
- Electrical tape
- Utility knife
If you have these ready, you can proceed to execute the following steps.
STEP 1: Prepare the case
You need to be able to use the solar generator without opening the case. For this reason, you would need to cut holes in the case the size of the wires and controllers you plan to install in the case. You should ensure the cuts are neat, consistent and precise.
STEP 2: Battery Installation
The first thing in the case is the battery, and you want it nestled in comfortably and taking as much space it would need. It is crucial that the battery is installed correctly and does not start moving around when the solar generator is moved. It should be fitted to the wall of the case using a battery strap.
STEP 3: Solar charge controller installation
The next step is to glue the solar charge controller in the case while ensuring you still have enough space for the solar panels and other necessary wirings.
STEP 4: Install the inverter
Installing the inverter can be tricky as it is the second-largest component to be installed in the case. The best way to install the inverter is with the use of straps so you can easily remove it for necessary maintenance. In addition, it is crucial that the inverter is installed in a way that allows for sufficient airflow to avoid the inverter overheating and damaging your generator.
STEP 5: Fuse installation and wiring
With all the solar generators adequately installed, the next thing is to wire up the system. It would be best if you connected the inverter to the outlet plug. Also, you should link the battery to the inverter and the solar charge controller to the battery using 12 gauge wire (12 AWG).
The system would need three fuses. One is between the battery and inverter, another is between the solar panel and charge controller, and the last is between the battery and the charge controller.
Conclusion
And there you have it! All you need to know is to design a functional solar generator. Follow these steps, and you are on your way to powering your home with green energy. Go green!


