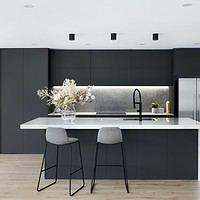
Exhaust fan is a perfect solution for any kitchen. I personally adore cooking and can stay days and nights in my kitchen experimenting with various receipts, products and cuisines. Still I often suffer from unpleasant smells and excessive moisture that gathers in kitchen after the whole day of such experiments. So, I have decided to improve this situation and install an exhaust fan in my kitchen.
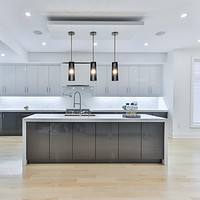
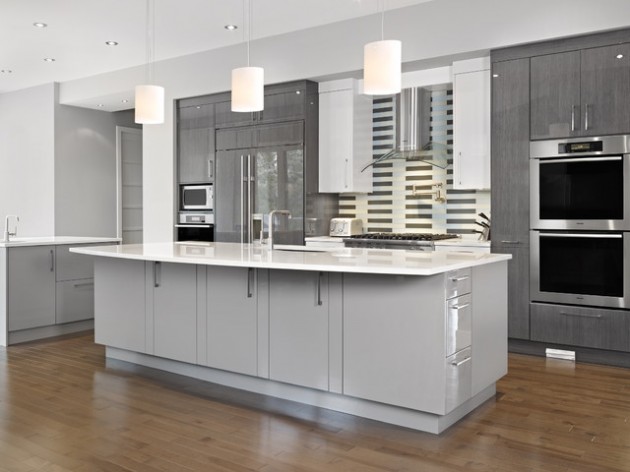
Kitchen exhaust fans are initially integrated in modern houses; they are built into kitchen constructions and become an integral part of such kitchens. My kitchen is of old style and that is why I need to buy a new device and install it myself.
As always I prefer to make household based purchases in Westside Wholesale. The home appliances that Westside Wholesale offers are distinguished by their high quality, reasonable prices and world known brands. I entered Westside Wholesale website in search of a suitable kitchen exhaust fan. The range of exhaust fans for kitchen offered there is stunning. Anyone can find whatever he needs.
The steps that should be taken for proper exhaust fan kitchen installation are not that difficult. My husband spent several hours for the whole process of installation plus some time for preparation and meditation, lol.
So, first of all it is necessary to plan ceiling exhaust hole. We used a stud finder to detect the right place on our ceiling for safe hole cutting. After locating the correct spot we pushed the tip of our drywall saw through the ceiling drywall. The saw blade should be seen from the attic. If there is any insulation around the blade it should be removed.
© Merle Prosofsky https://www.prosofsky.com/
The next step is to insert the vent pipe. Cut a circle similar to vent pipe end shape by a drywall saw exactly on your ceiling drywall and insert there the vent pipe. After this step is finished go back to the attic and attach a 4-inch duct elbow to the previously cut exhaust port. Make the attachment using foil duct tape.
Afterwards it is high time to attach vent fan. Follow by attaching a cable connector to the fan housing. Put the new vent fan together with the brackets into the cut ceiling hole. Using screws connect the brackets with the nearest ceiling joist. Using duct tape, proceed with attaching the flex duct to the vent connected elbow.
Then it is necessary to cut an exhaust hole. The place for this hole should be selected somewhere near the inserted vent fan and between joists of the exterior wall. Using a long narrow bit and cordless drill, make a through wall hole.
Connector duct should be attached to the wall cap with the cap inserted through the hole of the exterior wall. Afterwards it is necessary to add rubber gasket, make silicon sealing of the edges, screw the cap tightly to the surface of the interior wall, and with the help of foil duct tape connect the wall cap to the exhaust duct end.
The last step to a happy life is wiring. Connect all the necessary wires in the kitchen to the fan and attach its grill. At last turn the fan on for testing and open the fan switch. I hope these steps will help you to cope with this smart and useful device. Enjoy your kitchen and Westside Wholesale purchases.