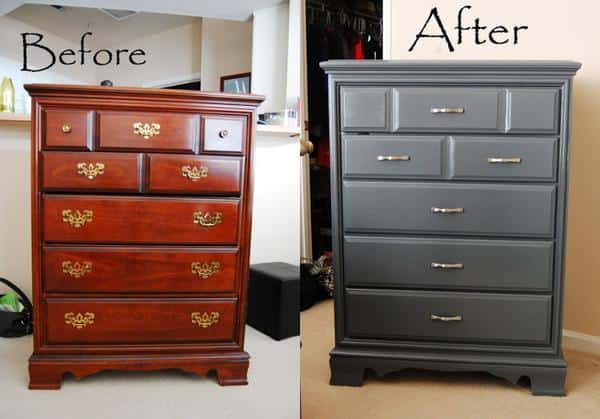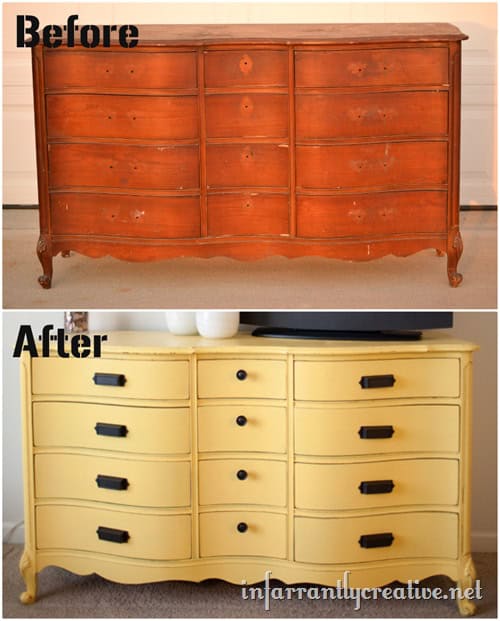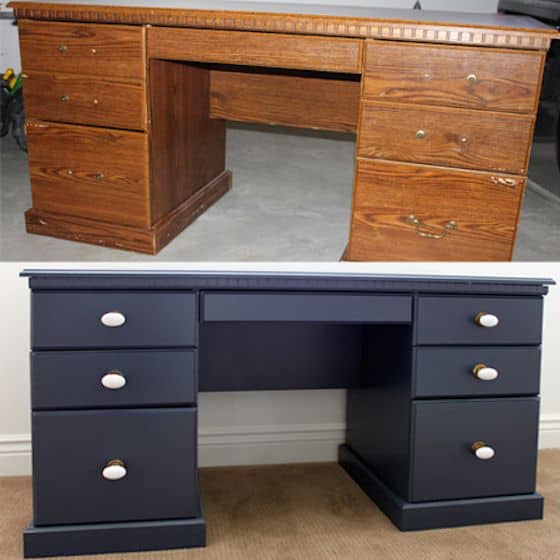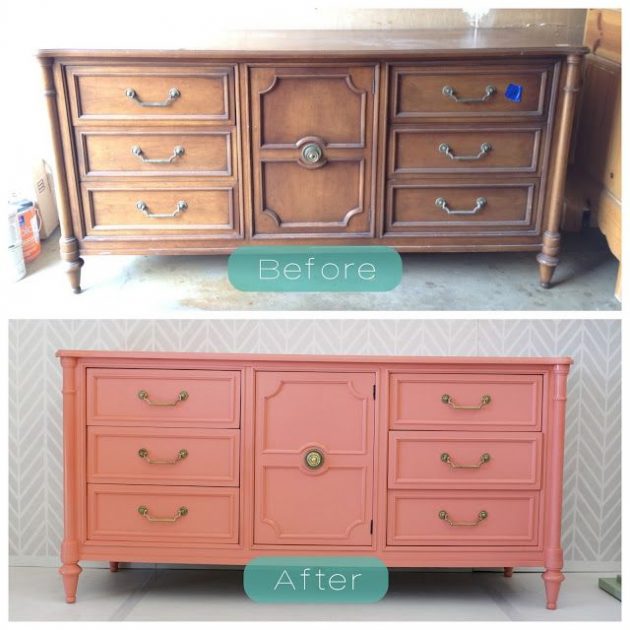
If you have lack of inspirational ideas of re-painting and repurposing old furniture, the best solution is to just let your imagination go out and to manually re-paint your old wooden furniture. You can do this with acrylic paints or other kinds of colors, and you can transform the old unused furniture in a retro style. The painting process itself, and then its varnishing, is actually not complicated at all, if you have at least a little imagination. The only thing that you will need in large quantities is certainly patience, because the manual finishing of the old furniture can last, but what you will get at the end of this process will surprise you, surely.
To start re-painting the old wooden furniture you will need the oldest one: cabinet, table, chair, bedside table or any other piece of antique furniture, and your favorite paint. It is especially important to choose a “healthy” or preserved old furniture, which will serve you for the upcoming years. For the process of painting your retro furniture you will need three things: primer, paint and varnish, if you have chosen to paint the furniture. You can apply several layers of paint, depending on what color you want to achieve. Remember that a new layer of paint should be applied only when the previous one is completely dry. And the time it takes for the color layer to dry is indicated on each pack. In the end, if you do not want your furniture to have a retro look, it is imperative to paint it. You can paint it with one layer of varnish, and in special cases with two layers. Now see some beautifully re-painted old pieces of furniture and find idea for your next DIY project!