The construction process of any home is a big step for the new homeowners but it also is the defining point of the quality of the building. Some of the choices that you make at this stage of the building process are going to be very difficult and expensive to fix later on. That is why it is important to be well informed before you begin, therefore saving yourself from some trouble later on.
One of things that you must be aware of before you begin construction work on your home is house wrap. Any house that is framed with lumber must have some protection from the elements and this is where house wrap comes in.
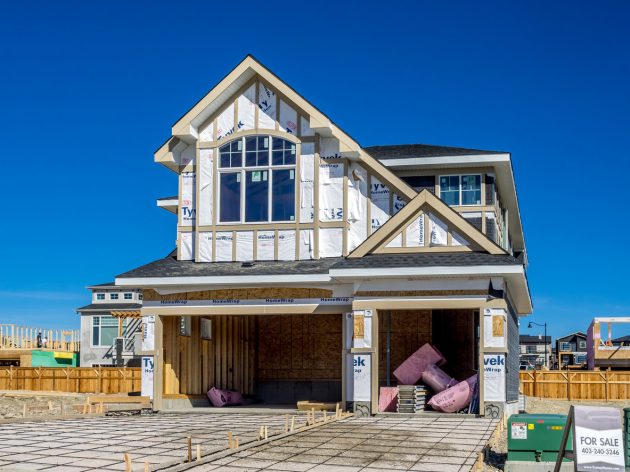
First of all, what is house wrap?
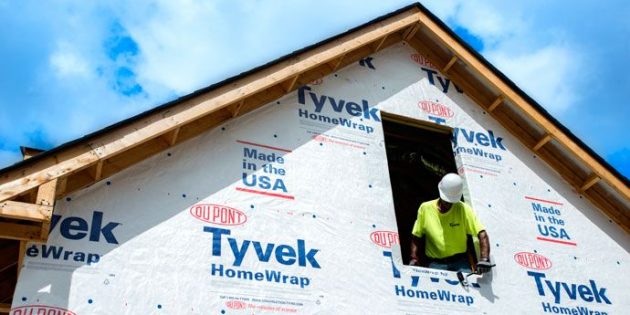
House wrap is a lightweight material that is designed to protect your home from moisture intrusion by creating a weather-resistant barrier. It is built as a replacement for sheathing paper and as an added bonus, house wrap improves your home’s energy efficiency. Another amazing characteristic of house wrap is that it allows water vapor to escape your home but not the other way around. This will help remove water vapor that might have built up inside your home for any reason and will greatly decrease the chance of mold forming inside.
There are plenty of different house wrap types, each with their own characteristics but the ones that you need to know are usually made of asphalt-impregnated paper or fiberglass, micro-perforated cross-lapped films or the most common ones made from tyvek – a synthetic material made of high-density polyethylene fibers.
Common mistakes when installing house wrap
Now that you know what house wrap is, let’s see how you should install it correctly because otherwise, it will do more harm than good.
1. Cheap House wrap
It might be tempting to use a cheap house wrap, especially if budget is tight but you have to remember that this is something that sticks until the next complete renovation of your home and is something that should be taken seriously, that is why you should avoid buying cheap house wrap. Check the perm rate on the house wrap that you want to buy and compare it with other offers. The ones with the lower ratings are the ones you should avoid.
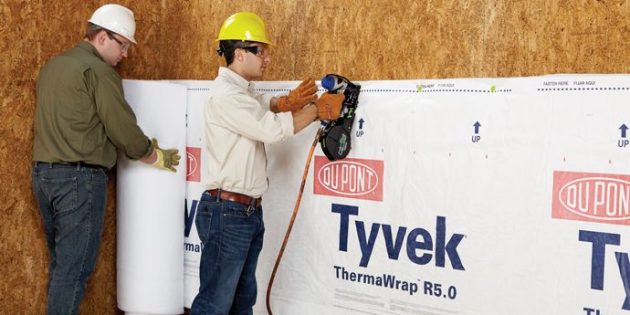
2. Fasteners
You might have seen people installing sheathing paper with hammer tacker back in the good old days but don’t be tempted to try that with good house wrap. Most manufacturers of house wrap require their product to be installed with capped fasteners which is going to slow down the installation process but it will make sure that you house wrap stays where you want it to unlike the staples that can come off when the weather is rather windy.
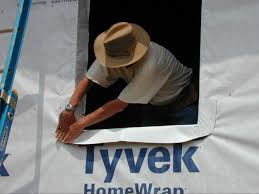
3. Creating holes for windows
One of the most-common mistakes that people do when applying house wrap without the help of professionals is tearing out holes for the windows and doors. That is one way to make sure that you’ve wasted your money buying house wrap because water vapor will still be able to get inside.
Instead, you should make an inverted Y cut at each window or door opening so that you can pull each of the loose flaps inside the opening where you should fasten them to the framing.
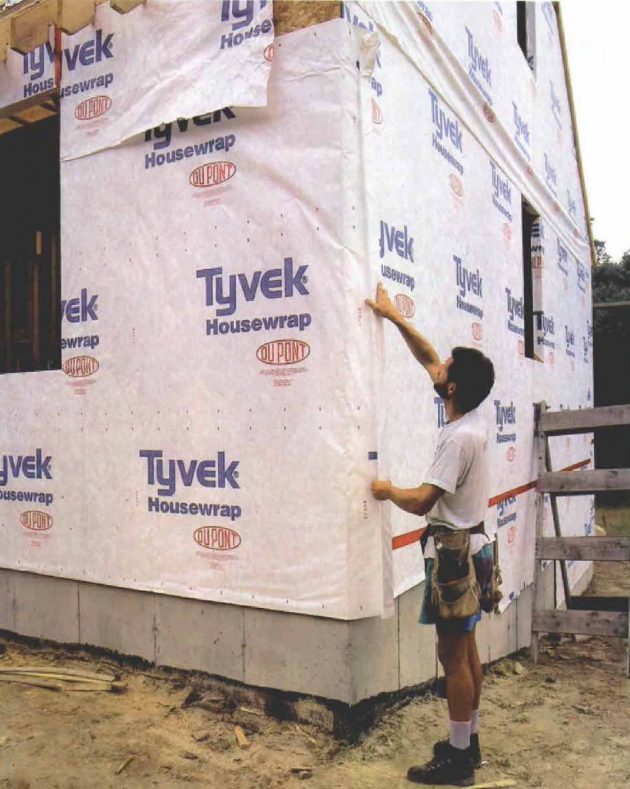
4. Not enough overlap
Don’t be cheap and try to cut the cost down by reducing the overlap. If you want to make sure that your house is well protected from wind and water, your house wrap overlap must not be less than 6 inches and even then, you should tape the seam. This is the only way to be sure that you’ve made a weather-tight bond.
5. Top of the wall doesn’t need house wrap
Wrong! If you leave the top of the wall without house wrap, you’ve done nothing by wrapping your entire house. Once again, don’t be cheap for a few inches and extend the house wrap up and over the top plate of your walls, sealing it all together on the inside.